


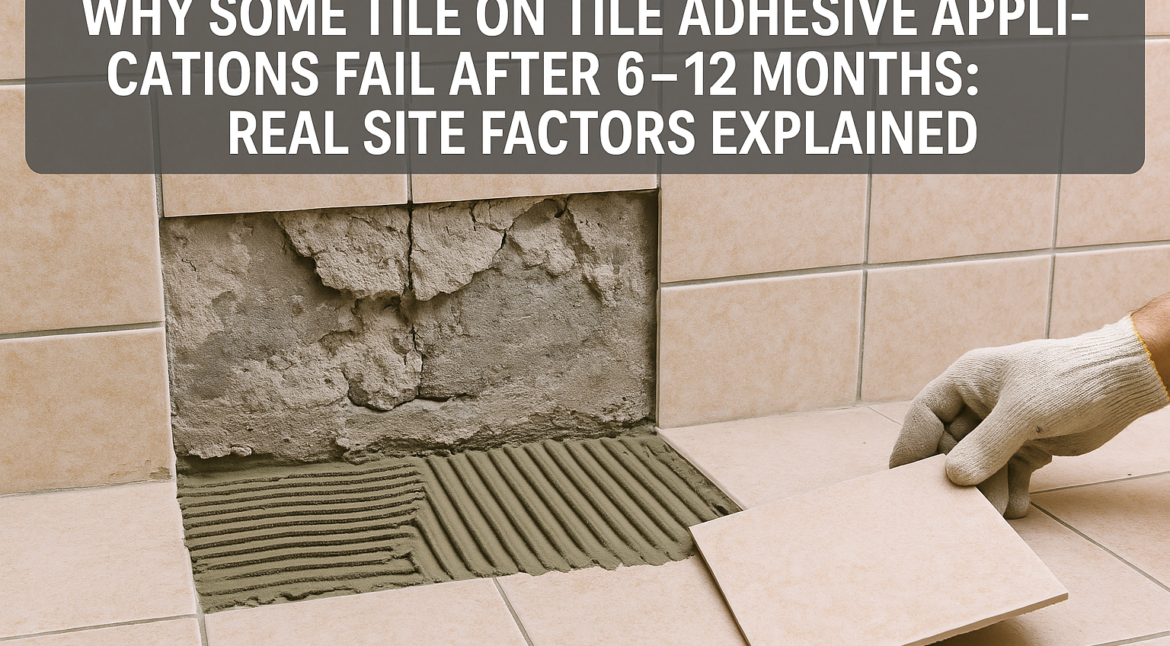
Why Some Tile-on-Tile Adhesive Applications Fail After 6–12 Months: Real Site Factors Explained
Tile-on-tile installation has become common in renovation and retrofit projects because it saves time, avoids demolition, and reduces dust. When done correctly, it works well. When shortcuts are taken, failures usually start showing within six to twelve months.
Loose tiles, hollow sounds, cracks at joints, or complete debonding are not random problems. In almost every failed tile-on-tile case, the issue can be traced back to surface preparation, adhesive selection, or site execution.
This breakdown looks at why tile-on-tile adhesive applications fail in real projects and what actually needs to be done on-site to avoid repeat failures.
Common Question Asked:
Q.1 Is tile-on-tile installation reliable for long-term performance?
Yes, tile-on-tile installation can perform long-term only when the existing surface is sound and a compatible polymer-based adhesive is used with correct preparation. Most failures happen due to site shortcuts, not because the method itself is flawed.
Why Tile-on-Tile Installations Fail After a Few Months
When tile-on-tile fails, it almost never fails immediately. Adhesion looks fine in the beginning. Tiles sound solid. Within months, problems start appearing.
That delay happens because stress builds gradually due to movement, moisture, thermal changes, and load.
Weak or Contaminated Existing Tile Surface
The existing tile layer is the foundation. If that foundation is weak, no adhesive will perform well.
Common on-site issues include:
- Tiles are already loose or hollow
- Old tiles coated with grease, polish, soap residue, or cement laitance
- Bathroom or kitchen tiles with invisible chemical buildup
- Smooth glazed tiles not mechanically roughened
Tile-on-tile adhesive needs mechanical grip. When installers skip surface roughening or deep cleaning, the adhesive bonds to contamination instead of the tile surface.
This is one of the most common tile debonding reasons seen in renovation projects.
Using the Wrong Type of Tile Adhesive
Tile-on-tile work needs a high-bond polymer tile adhesive. Standard wall or floor adhesives are not designed for bonding over non-absorbent surfaces.
Failures often occur when:
- Basic cementitious adhesive is used
- Indoor wall adhesive is applied to the floors
- The adhesive lacks flexibility
- Waterproof properties are ignored in wet areas
In renovation zones like bathrooms, kitchens, and wash areas, a waterproof tile adhesive becomes critical. Moisture migrating between tile layers weakens poor adhesives over time.
No Mechanical Key Created on Old Tiles
One of the most overlooked site steps is surface abrasion.
Existing tiles are often:
- Glazed
- Smooth
- Non-porous
Without roughening:
- The adhesive sits on the surface
- There’s minimal grip
- Bond relies only on chemical adhesion
Light grinding, wire brushing, or controlled mechanical scratching creates a physical key that allows proper anchoring.
Skipping this step is a major cause of tile-on-tile installation problems.
Moisture Trapped Between Tile Layers
In wet zones, moisture gets trapped when:
- Old grout lines are damaged
- Existing tile joints are not sealed
- Waterproofing is weak or missing
If a non-water-resistant adhesive is used, moisture slowly degrades the bond layer. The tile appears fine for months, then starts releasing from the surface.
This is why tile adhesive for renovation must be evaluated based on moisture conditions, not just tile size.
Uneven Existing Floor or Wall Levels
Tile-on-tile magnifies imperfections instead of hiding them.
Common mistakes:
- Installing directly over uneven old tiles
- Using adhesive as a leveling material
- Ignoring tile height variations
Thicker adhesive patches cure unevenly, which creates internal stress. Over time, this results in cracking and hollow areas.
Incorrect Adhesive Coverage
Coverage matters more in tile-on-tile installations than in fresh substrate tiling.
Failure occurs when:
- Adhesive is applied only on the substrate
- Back-buttering is skipped
- Air pockets remain
This is especially critical when working with mosaic tile adhesive applications over existing tiles, where voids form easily behind small pieces.
Movement and Thermal Stress Not Accounted For
Tile-on-tile installations involve multiple layers with different expansion behaviors.
Problems arise when:
- Expansion joints are ignored
- Large areas are tiled continuously
- Old movement joints are covered
Temperature variations cause layers to expand at different rates. Without flexible adhesive and movement joints, debonding is inevitable.
Adhesive Selection in Real Renovation Conditions
In practical renovation work, installers often use adhesives formulated specifically for tile-over-tile situations.
On many sites, polymer tile adhesives are preferred because they:
- Bond well to non-absorbent surfaces
- Handle movement better
- Perform reliably in wet areas
In renovation floors or wet interiors, installers often rely on products like TERATILE PROLIX EXTRA when higher bond strength is required over existing tiles, especially in heavy-use areas.
For tile-on-tile applications involving dense or polished tiles, adhesives such as TERATILE DIAMOND are commonly used because they provide a stronger grip on low-absorption surfaces.
In bathrooms or damp zones, TERATILE PLATINUM is often chosen where both adhesion and moisture resistance are needed.
Site Practices That Prevent Tile-on-Tile Failures
Experienced contractors follow a fixed process:
Surface Preparation
- Deep clean existing tiles
- Remove grease, soap, and polish residues
- Mechanically roughen glazed surfaces
Adhesive Selection
- Use polymer-modified adhesive only
- Confirm compatibility with the existing tile type
- Choose waterproof systems in wet areas
Application Method
- Apply adhesive on both the substrate and the tile
- Ensure full coverage
- Avoid thick adhesive beds
Movement Joints
- Respect existing joints
- Add expansion gaps where required
Curing Discipline
- Avoid early loading
- Keep wet areas dry during curing
Conclusion
Tile-on-tile failures are rarely caused by the concept itself. They happen because site realities are ignored. Smooth old tiles, moisture, uneven surfaces, wrong adhesive choice, and rushed installation create delayed failures that show up months later.
With correct surface preparation, appropriate polymer-based adhesives, and disciplined execution, tile-on-tile systems can perform reliably and save significant renovation time and cost. For more information, Contact Us.
FAQs
-
1. Why does tile-on-tile flooring fail after a few months?
Most failures occur due to poor surface preparation, wrong adhesive selection, or trapped moisture.
-
2. Is polymer tile adhesive necessary for tile-on-tile work?
Yes. Polymer-modified adhesives provide the flexibility and grip required for non-absorbent surfaces.
-
3. Can tile-on-tile be used in bathrooms?
Yes, but only with waterproof tile adhesive and proper surface preparation.
-
4. Do old tiles need roughening before re-tiling?
Yes. Smooth tiles must be mechanically keyed to ensure adhesion.
-
5. Is back-buttering required for tile-on-tile installation?
Yes. Full adhesive coverage is essential to avoid hollow spots and long-term failures.